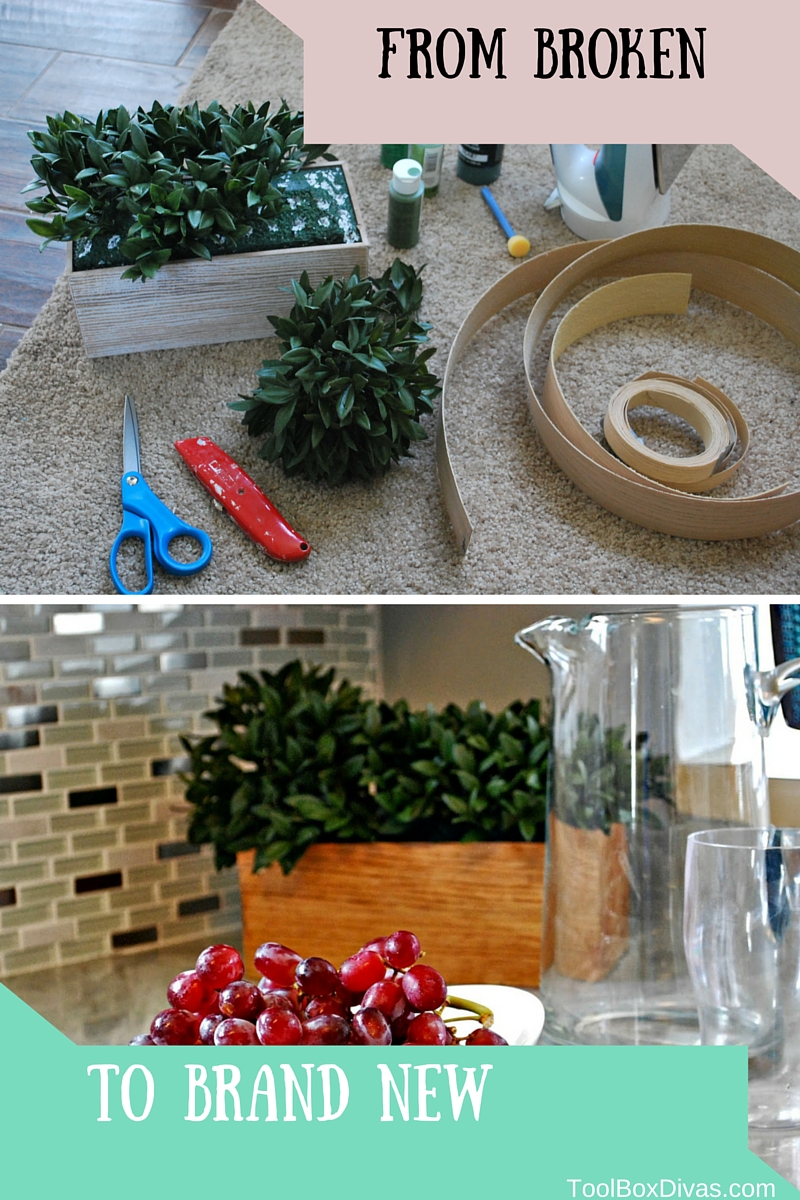
What can you really get for $3? The story of a planter
You know its funny, in the kitchen, we rarely think of what’s in the backdrop.
The center of attention is normally the delicious food. We forget the kitchen needs a little attention to its decorative details as well. This can be accomplished of course in the detail of the cabinets, the counters and jeweled backsplashes. But it’s also about the accessories. Not too much. A little really goes a long way in the kitchen. But little elements here and there bring life to a kitchen. So while out shopping at one of my favorite stores, TJ Maxx, I spotted what looked like a broken branch from a floral display. Huh, I thought. I bet there is a planter box on the floor missing a great big chunk of greenery. And as I turned the corner, there it was, a broken beat up planter that had seen better days. I flip it over to check out the price…$3 WHATTTTT?!! OK I’ll take this, and go back to pick up the broken branch.
Consider this the next time you see something in the clearance area that looks a little beat up.
At first glance this planter looks like it probably should be trashed. But I saw potential. It was the perfect shade of green for my kitchen given my current color scheme. The box however, was not exactly the right color tone. The box was covered by a wood like paper. I wanted a wood look and tone but knew that wouldn’t be achieved by simply painting the planter box. So I went to my workshop and pulled out some old wood veneer iron-on edging I had bought from Lowe’s when I originally tried repurposing my kitchen cabinets.
That paired with various shades of green and black acrylic paints and I was ready to bring new life back into this piece.
First I cut the strips of veneer to the size of the box.
Then Iron the veneer on to the box being sure to not get to close to the wax leaves. I still need to use this iron for its intended purpose (To iron everyone Else’s clothes).
Because this is an edging it has to be lined up to cover the width of the box. Don’t worry about lining anything up perfectly. Wood is perfectly imperfect and so is this planter.
Once the veneer was adhered (does that rhyme?) to the planter box, I sanded down the edges and corners paying close attention to the seams.
Stain the veneer with your stain of choice.
I followed by applying a clear polyurethane to speed up the drying process.
Once the planer box was repaired I turned my attention to the floral bed. This is a simple greenery. It’s attached to the planter box by a large piece of foam. In a disposable plate I mixed the shades of greens and black. Using the stencil brush blot the foam with the paint mixture filling in all the holes and white areas that were missing pieces of the arrangement.
Once that was done I was able to reattach the missing branches to the arrangement by sticking it into the foam.
And there you have it. This $3 TJ Maxx Clearance area find, now restored to what I think is a better state of being, a decorative element of my new kitchen.
Till Next Time ~T.
DIY of how to repair a broken planter box. Low cost solution to decor.
So Last week I had the amazing pleasure of hosting Hometalk’s DIY Facebook session. It was so much fun. I showed you how anyone could tile just about anything with these simple steps. Often we can become intimidated by the fear of the unknown. We went through a simple and easy manner in which anyone…
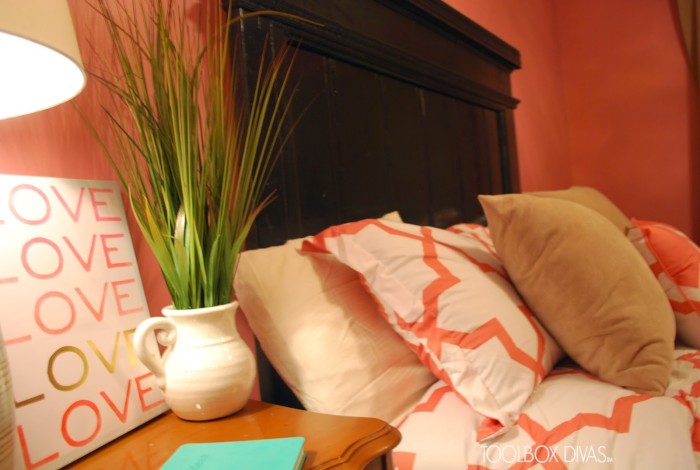
This year my goal is to tackle at least one concept or “pin” each month, centered around one room. Every month will be a different room or space. This is the Pinterest Room Challenge. The “Room of the Month” for January is the Bedroom. So when a friend of mine approached me about helping her find an affordable headboard, I…
I’ve written about my need of changing my “gun room” to a nursery, and the time has finally come. My wife is a few months pregnant, so it’s time to clean the room and whip it into shape. Unfortunately, I didn’t take a before photo, so just imagine this room with boxes, and in the…
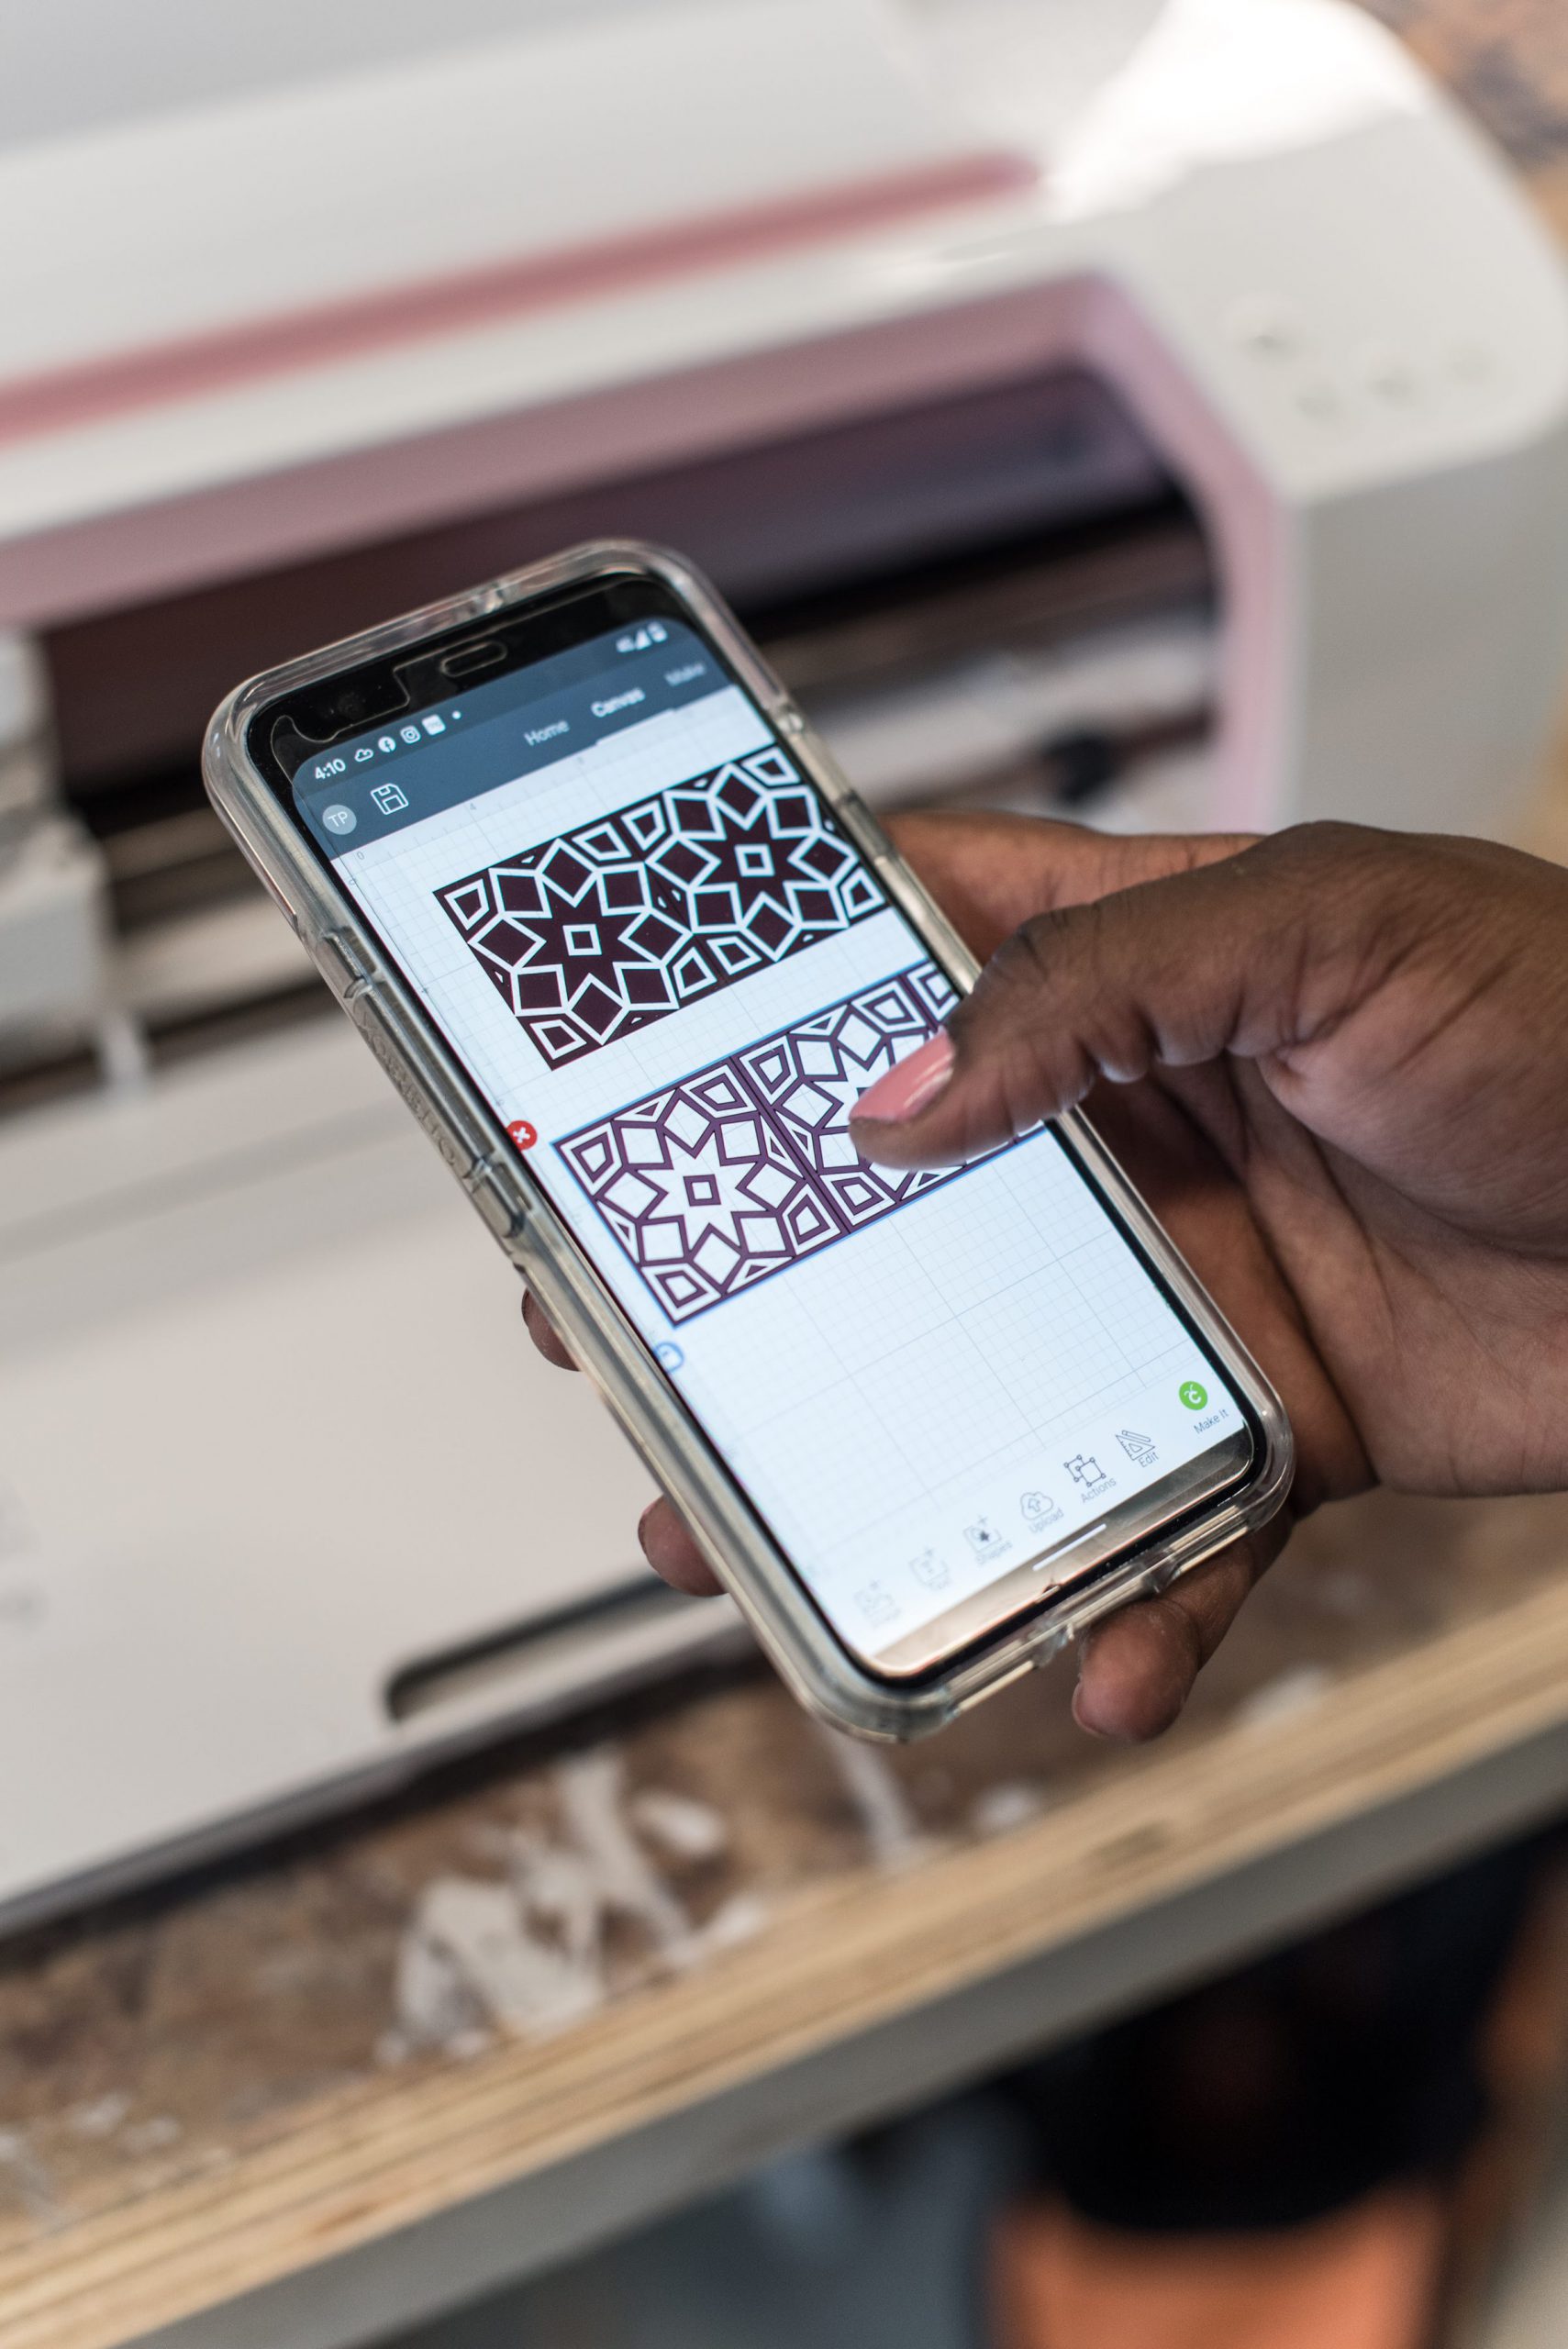
This is a sponsored post written by me on behalf of Cricut. All opinions are 100% mine. Jumpstart your creativity with a Cricut Access Subscription. OK, it’s no secret I love love love Cricut machines and Cricut craft projects. With the aid of Cricut devices, my at-home DIY Craft projects look like something I might…
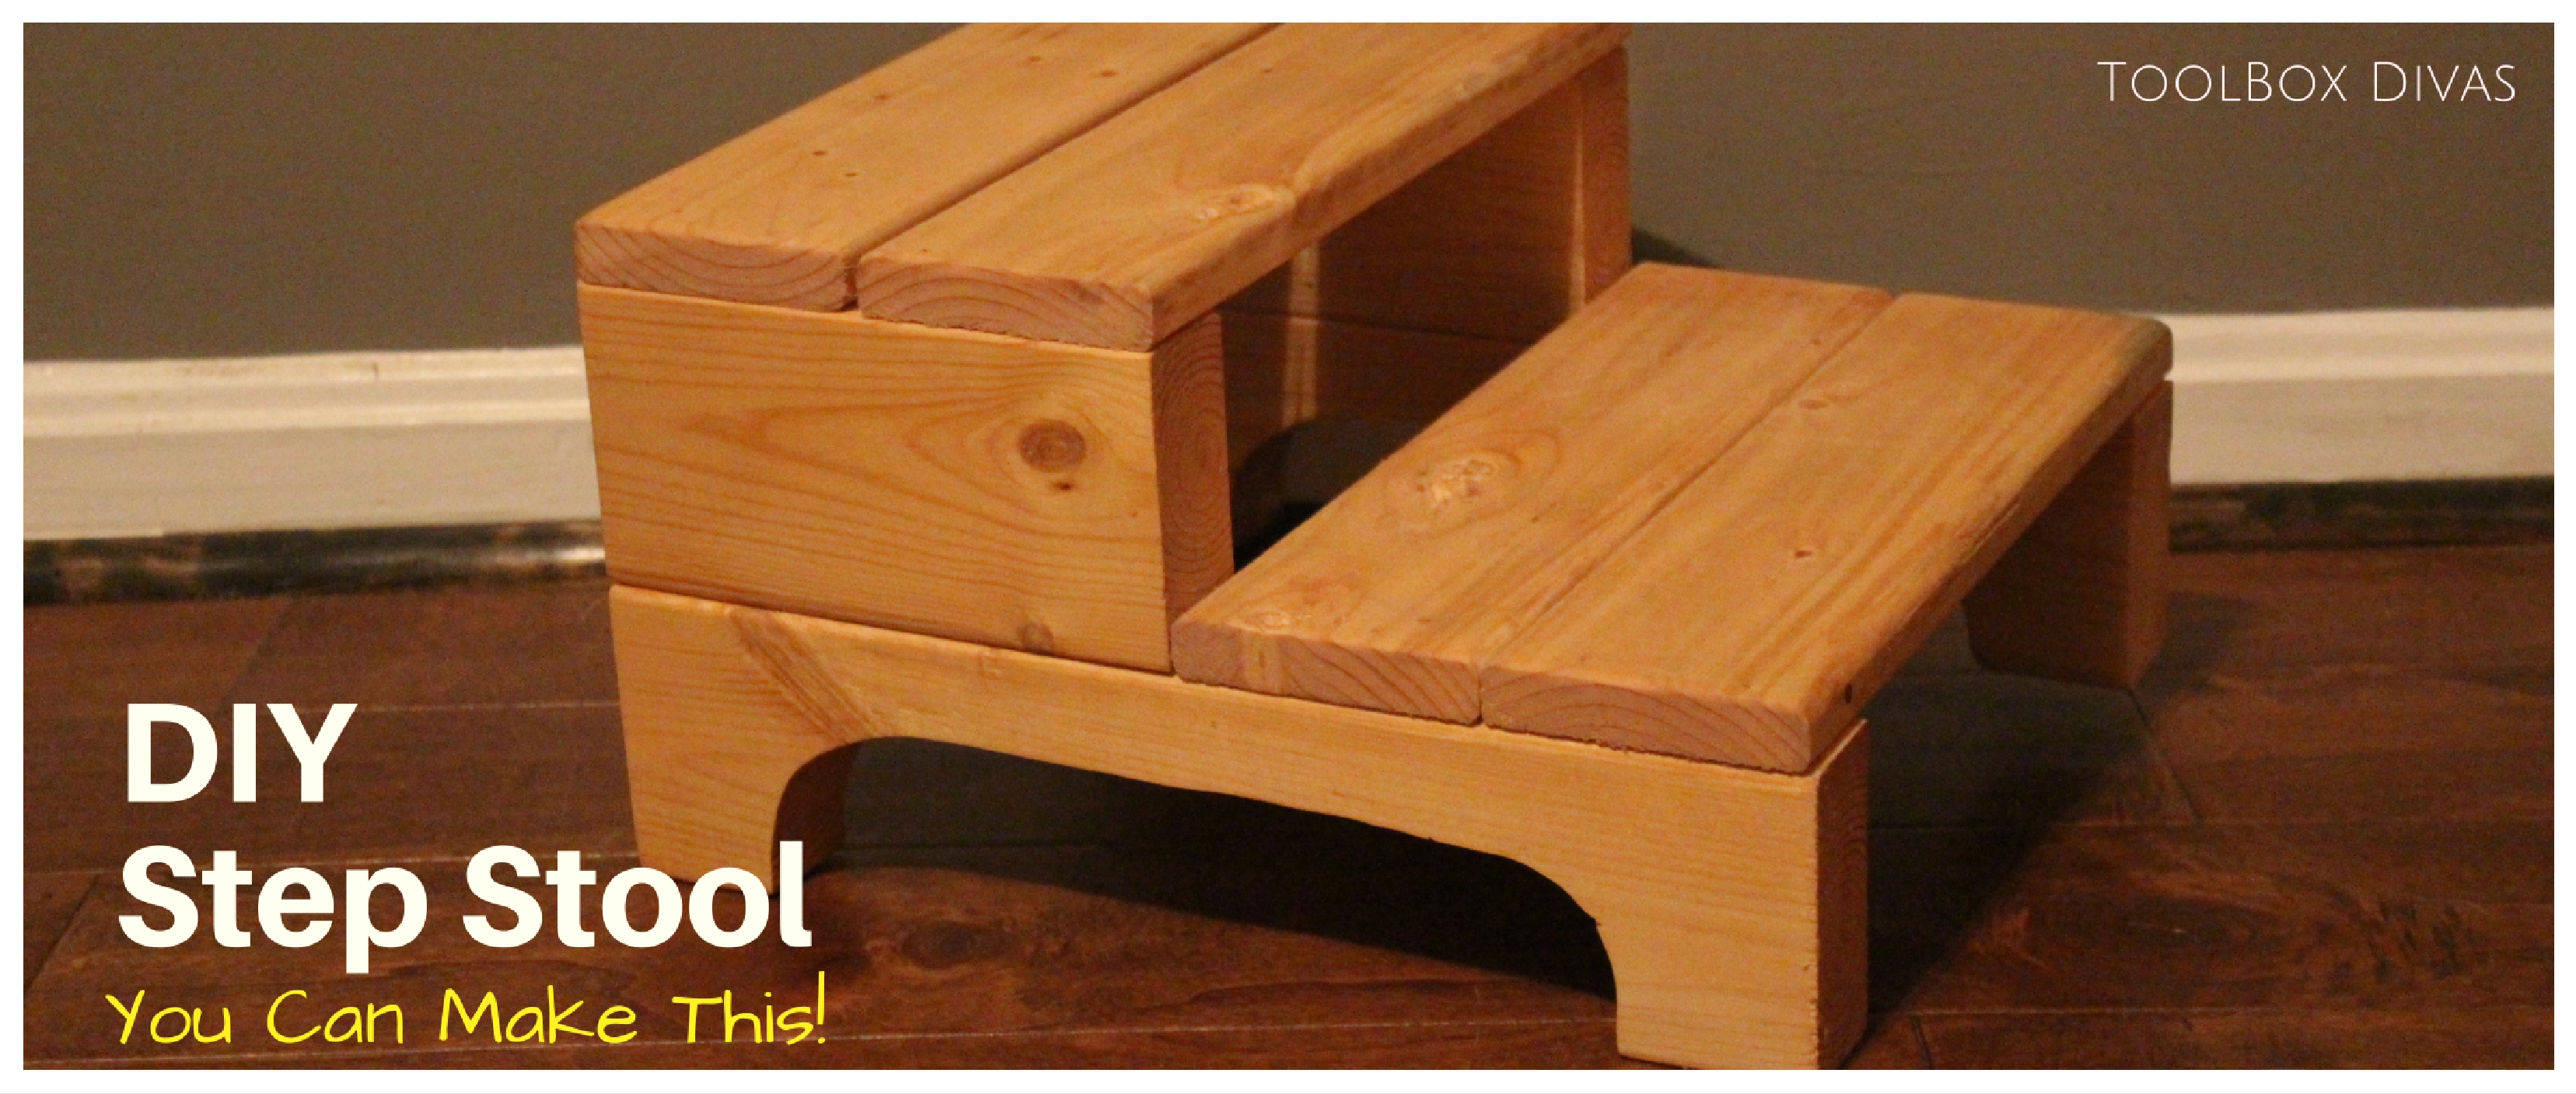
Do you need a little extra to reach the spice rack or does your little one need a little help reaching the bathroom sink in the morning? This is the perfect step stool for you. It is also a great want to practice using basic power tools. Materials 2×4 ( 2 – 7″ & 2…
Learn how to install faux wood blinds in this easy to follow tutorial. *This post is sponsored by The Home Depot and contains affiliate links and I will be compensated if you make a purchase after clicking on my links. You can have a beautifully decorated space when you with affordable faux wood blinds. They look much like…
 You know its funny, in the kitchen, we rarely think of what’s in the backdrop.
.JPG "Simple Craft DIY project. Planter box refinished using wood Veneer and stain")
.JPG "Simple Craft DIY project. Planter box refinished using wood Veneer and stain")
.JPG "Simple Craft DIY project. Planter box refinished using wood Veneer and stain")
.JPG "Simple Craft DIY project. Planter box refinished using wood Veneer and stain")
.JPG "Simple Craft DIY project. Planter box refinished using wood Veneer and stain")
.JPG "Simple Craft DIY project. Planter box refinished using wood Veneer and stain")
.JPG "Simple Craft DIY project. Planter box refinished using wood Veneer and stain")
.JPG "Simple Craft DIY project. Planter box refinished using wood Veneer and stain")
.JPG "Simple Craft DIY project. Planter box refinished using wood Veneer and stain")
.JPG "Simple Craft DIY project. Planter box refinished using wood Veneer and stain")
.JPG "Simple Craft DIY project. Planter box refinished using wood Veneer and stain")