Tile Removal 101: Remove the Tile Backsplash Without Damaging the Drywall
In this article details a step by step how to instructional on how to remove an old tile backsplash without causing severe damage to the drywall.

Removing an old tile backsplash can seem like a daunting, maybe even infeasible task. There are questions like, ‘how do I begin to remove this wall essentially tiled with stone? If I remove the tile will I damage the drywall? What if I get in there and can’t finish?’ Or maybe just, ‘what the heck am I doing?’ I know because it’s how I felt before taking a hammer to my old tile backsplash. Well I’m here to tell you, YOU CAN DO IT!
It all begins with the right tools and gear. OK ladies (and fellas..I know your reading this), put on your best demo outfits because this can and will get messy.
Let’s get Dirty!
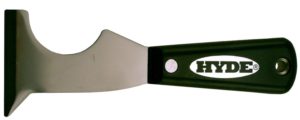
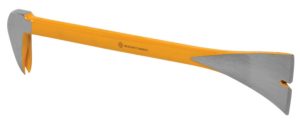
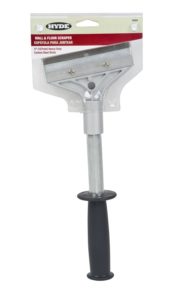
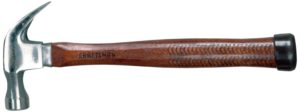
Required Materials

Steps
-
Clear off the countertops.

(Boy these counters sure are ugly!) 
- Remove the covers from the outlets. And cut the power to the area where you about to the outlets where you are about to remove the tiles.
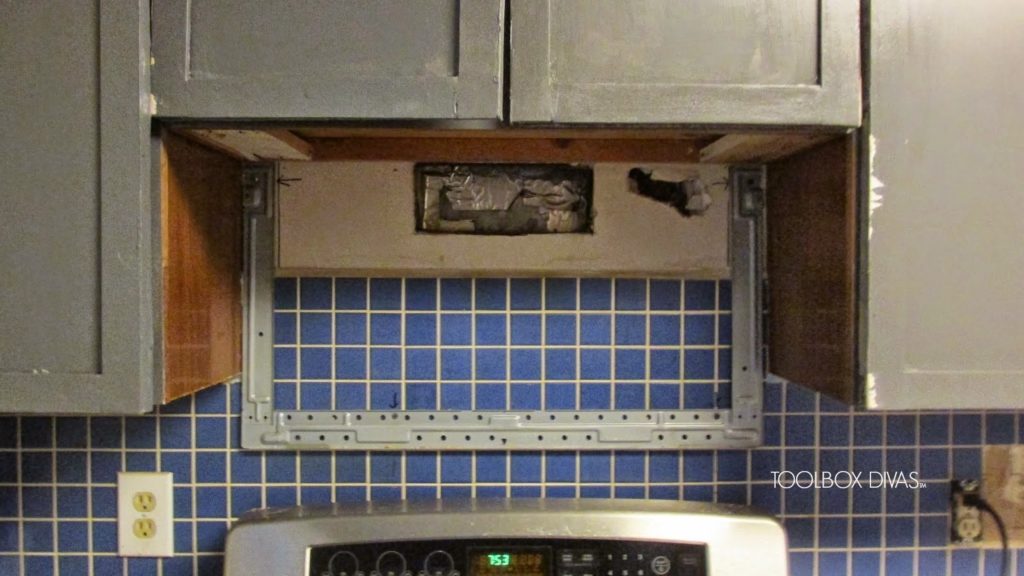
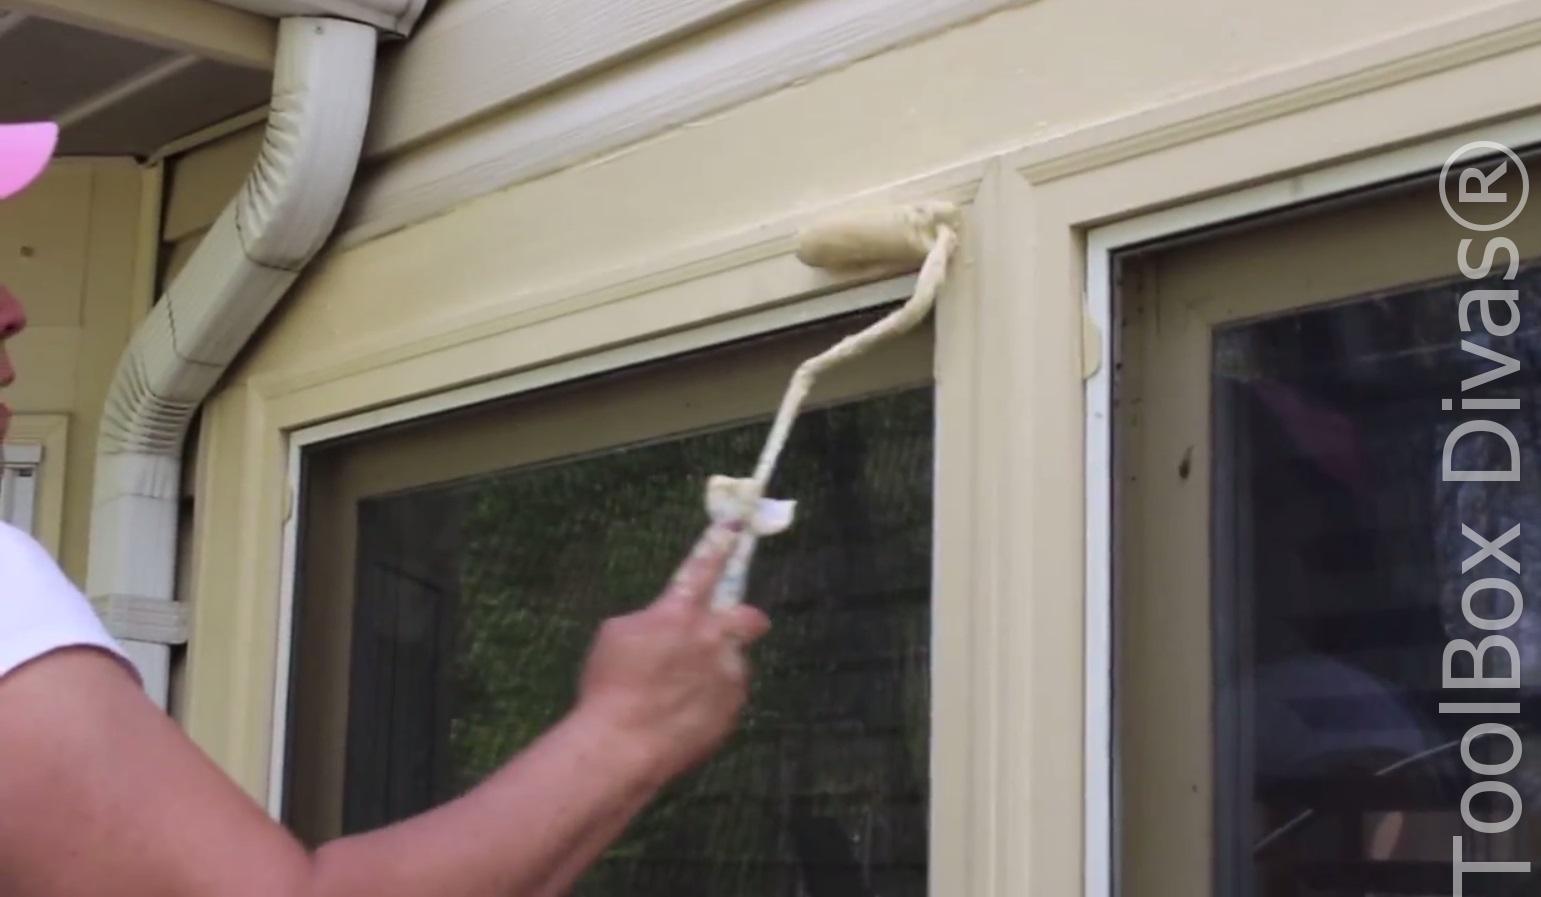
- Take down the microwave and remove the microwave brackets if it’s attached to the wall. Mark on the wall with a marker where the holes are for reinstalling the bracket for the microwave.
-
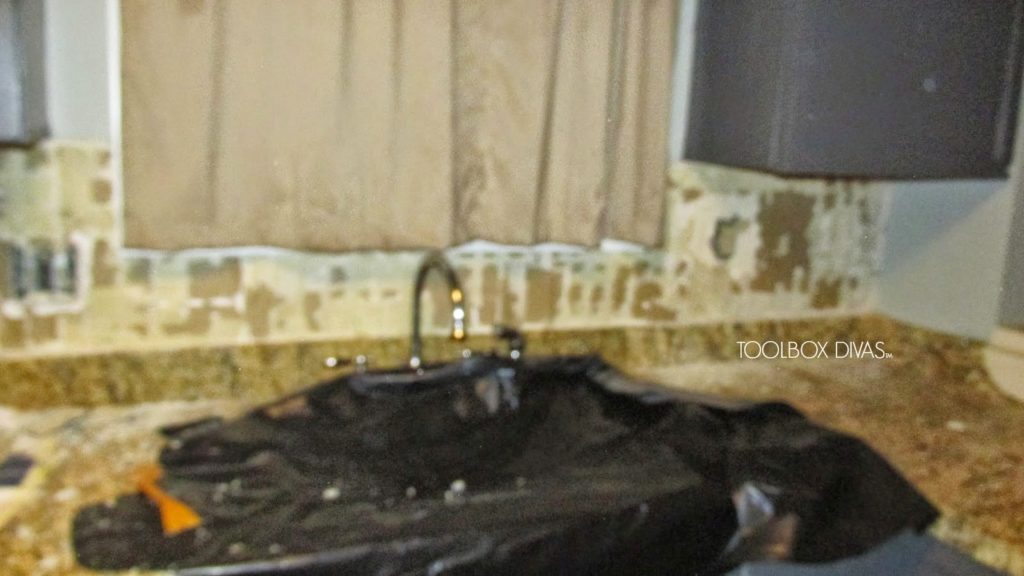
 Using the tape and plastic bag, cover the sink. The last thing you’d want is to get some old ceramic tile caught in your garbage disposal. To catch falling tile you can also line the countertop with plastic.
 - Put on your glasses and gloves. (Is this really a step?!)
- Score the 1st tile you plan on starting with using the grout cutter. Run the gout cutter around the tile edges in the grout area. Then make and X motion within the tile with the tile cutter. This will further loosen the tile reducing the chances of you damaging the drywall behind it when you start removing the tile from the wall.

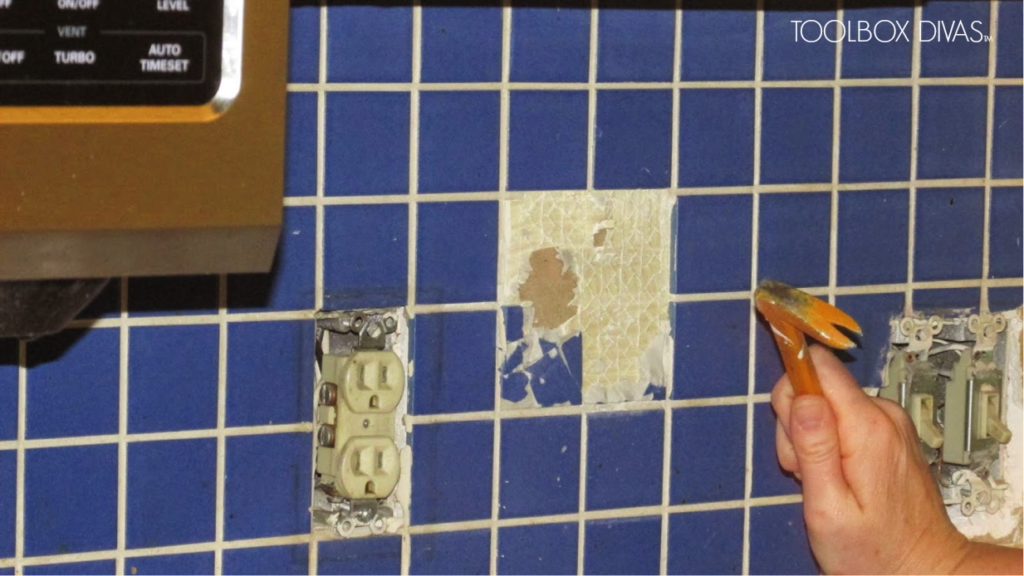
 Repeat step 6 one more time just to be on the safe side.
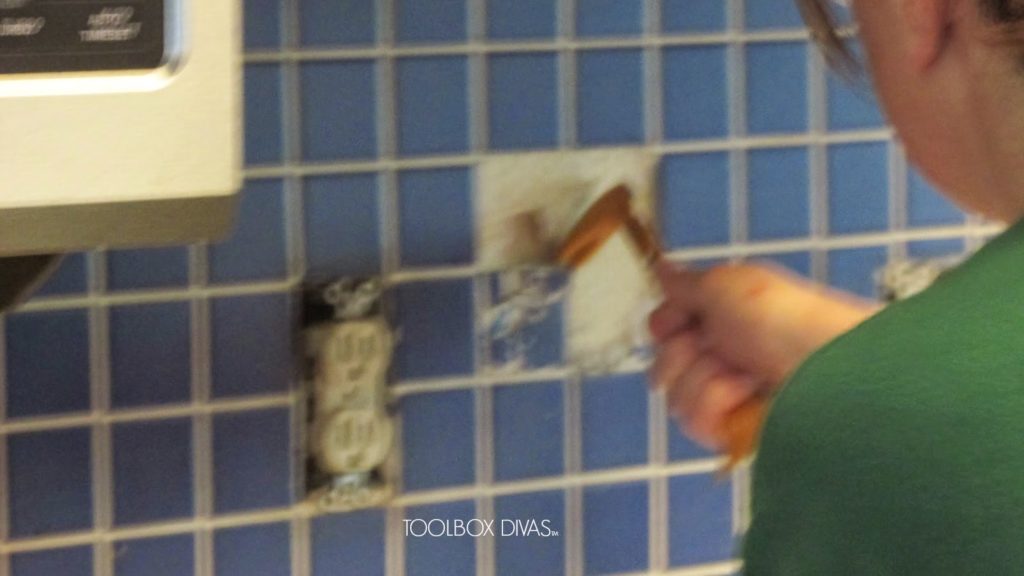
- Take your hammer and tap the tile (gently) in the middle of the cuts. Pieces of the tile
should fall. - Then using the flat head screwdriver and hammer at the corner of the tile or where it’s chipped and chip away at the tile being careful not to dig into the drywall.
- Then wedge the scrapper into the gap where the tile fell. With the removal of the one tile keep going under the surrounding tiles gently popping the tile from the wall by prying it from the wall using the scraper and hammer.
- Once the tile is down take a 5 in 1 tool and scrapper to remove any excess grout. This can also be done with the addition of a light sander using fine grade sandpaper.


Products Used


*This site contains affiliate links from: Amazon, Target, BuildDirect and other home improvement companies. By purchasing through these links ToolBox Divas earns a small commission, however you pay the same price for the item (it does not increase). Thank you for supporting ToolBox Divas!
**Please note- I only promote and link to products I use myself!

Please let me know if you’re looking for a writer for your weblog.
You have some really good posts and I think I
would be a good asset. If you ever want to take some of the load off,
I’d absolutely love tto write some material for your blog
in exxchange forr a link back to mine. Please blast me
an e-mail if interested. Regards!
Thank you, I welcome it. Please contact me at [email protected] and we can discuss it. I look forward to speaking with you
Hmm it seems like your blog ate myy first comment (it was extremely
long) so I uess I’ll just sum it uup what I had written and say, I’m thoroughly enjoying your blog.
I as well am an aspiring blog writer but I’m still new to the whoole thing.
Do you have any suggestions for first-time blog writers?
I’d genuinely appreciate it.
Have fun with it. The moment it begins feeling like a job is when you run the risk of losing what made you pursue blogging in the beginning.
Writers usually are familiar with Spellcheck by the way. You might be more credible if you try it.
Ha! Well I was credible enough for you to read it.
Hi there, just became aware off your blog through Google,
aand found that it’s trul informative. I am going too watch out for brussels.
I will appreciate if you continue this in future.
Numefous people will be benefited from your writing. Cheers!
Fantastic tutorial showing how to accomplish this trying feat. It is never easy to remove a tile backsplash and keep your drywall intact. I love that you provide each step as well as listing all the materials used. This will be a very useful resource to use on future projects. Thanks so much for sharing!
Thank you so much! I’ve very happy you found it useful and easy to follow. Please let me know if you have any questions once you get into your project. I’m always willing to assist.
Really, looks awesome. Thanks Timisha! Quite exciting details you have described, thank you for publishing. It’s really an excellent and useful part of details. I am satisfied that you just distributed this useful details with us. Please keep us advised like this. Thanks for discussing.
Thank you so much George! I’m so glad you found this tutorial helpful.
sorry have tried for several hours without success at getting one tile off. Using a diamond point with my dremel. What now? Followed the instructions to the letter!
Hmmm. Did you use the hammer? The First tile is always the hardest. Sometimes you actually have just hit it really hard with a hammer after you’ve scored it with the tile cutter. Feel free to email me at [email protected] or contact me via Facebook and I we can walk you through it. ~Timisha
Great article! I have a question about the photo in step #4. It shows the OTR Microwave bracket against both the tile and the drywall (above the tile). I would think the tile would bump the bracket out from the drywall, leaving a gap when drilling into the drywall. Can the bracket be mounted even when it isn’t flush all the way around? I mean, since the tile protrudes out from the drywall just a bit?
Thanks! I’m having an OTR installed soon and I’m worried they won’t be able to install it since my backsplash doesn’t go all the way up the wall.
yes it can be mounted even though it is not flush. In this case the tile is about 1/2″ thick. But you can make it flush by running a 1/2″ or 3/4″ inch board along the drywall area to flatten the surface. This was actually how it was installed prior to me removing the old tiles. That brackets support is actually from the bottom and the microwave is screwed into bolts at the top from the bottom of the hanging cabinets if that makes sense. But After changing the tiles I actually had to change the microwave. The new microwave used a different supporting bracket. That video should be posted to youtube within the next few weeks.
How did you protect the existing cabinets? I am going to start a similar project and we don’t want to remove the cabinets on the wall. Is there something we could do to protect the cabinets from being damaged while surrounding work is on going?
Your cabinets should be fine. When removing the tile it shouldn’t damage the cabinets unless there’s tile on the actual cabinets. You can always use like a 3m painters tape on the cabinet edges to guard against any splashes.
Great article! Thanks!
Thank you so much! I so glad you enjoyed it and found it helpful.
Such a great article. Thanks for sharing.
Greats advise, thanks for posting
Thank you so much! I’m so glad you found it helpful.
Sorry but best way is using a heat gun on low. This will remove tile without removing any paper. Taking off most of the glue also. Drexel the grout lines first.
So glad to have found your website! I have just bought a small apartment and was hoping to do a lot of the renovation work myself. With absolutely zero background in this stuff, I was having second thoughts, but after looking at your website, I think I can do it!! I’m at least gonna give it a try.
Kris congratulations on your new place!! It can be an equally awesome and daunting feeling. But I know you can do it. The most challenging thing about starting any DIY task is the initial fear. Once you move past that, its smooth sailing. Please keep me posted and share pics tagging my on Instagram @ToolboxDivas
I must say you have very interesting articles here.
Your content should go viral. You need initial boost
only. How to get massive traffic? Search for; Murgrabia’s tools go
viral
Outstanding post I really like itWall Removal service
Thank you so much! Really appreciate your checking it out.
I just found your blog today. I’m in the process of refinishing my bathroom cabinets. I plan to refinish all the cabinets in my house, including the kitchen. I would love new kitchen cabinets, but that will have to wait until the future. I need to make my space tolerable in the meantime. I have old 4″x4″ tile on my kitchen counter and back splash, I was thinking of regrouting to refresh but after reading about your tiling efforts, I may consider updating the tiles. I can’t imagine digging up the old tile from the counter top and back splash without destroying the walls and counter top underboard. After viewing your blog, I will give it a good long ponder.
Awesome Janet! You can totally do this
Tile backsplash is a common household problem now. Here you have discussed an amazing guideline to remove tile backsplash. You also discussed the required materials to remove backsplash. Thanks for sharing your kind info.
Thank you! I’m so glad you found it helpful
I do not know if it’s just me or if everybody else encountering problems with
your site. It appears like some of the written text on your content are running off the screen. Can someone else please comment and let me know if this is happening to them too?
This may be a problem with my internet browser because I’ve had this happen before.
Thank you
I’m glad you mentioned turning off the power when you take off the backsplash. That way you can avoid any electricity mishaps. I’ll make sure I do that right away.
This is the right website for everyone who wants to find out about this topic.
You realize so much its almost hard to argue
with you (not that I personally will need to…HaHa).
You certainly put a new spin on a topic which has been discussed
for many years. Wonderful stuff, just excellent!
Thank you 😀
Yes, I know this is very difficult to remove the tile backsplash without damaging the drywall. But if we follow some proper guidelines and tools. Then we can do that very easily.
You made the kitchen a construction Factory 🙂